Blog ·
How to Set Up a Sparx Skate Sharpener
Prepare your Sparx Sharpener 3 for its first sharpening with a sensible workspace, correct equipment, alignment checks, and a blade record.
Set up a Sparx skate sharpener by identifying the model, preparing a suitable workspace, assembling the supplied parts, removing its transport protection, installing the correct ring, and completing the model’s alignment and operating checks. Plan the first session when you have time to learn the process and inspect the result.
This article focuses on the Sharpener 3, or ES300. Use the official manuals page if your machine is ES100 or ES200, because the equipment and controls differ.
Prepare the workspace first
Choose a stable surface with room for the machine, skate, finishing tools, and your hands. Keep the area dry and well lit. Make sure the machine’s required airflow and access are not blocked. Keep loose items and laces away from the operating area.
Think about the whole job, not just where the sharpener fits. You need somewhere to inspect and finish a blade without balancing tools on the machine. You also need a place to store the ring and alignment equipment so they are easy to find the next time.
Confirm the equipment you received
Compare the actual contents with your order and the product listing. The Sharpener 3 page lists the optical alignment kit, alignment driver, cord, honing supplies, travel guard, and blade lifts among the supplied equipment. Verify ring selection and any additional accessories against the selected package.
Do not substitute a similar-looking part from another generation without checking compatibility. Keep the packaging and purchase information while establishing that everything is present and operating as expected.
Complete the initial assembly and checks
For ES300, fit the clamp lever, remove the travel guard, connect power, install the appropriate ring, and perform the alignment procedure. The manual calls for an initial alignment check even though the product is advertised with preset alignment. Use the ES300 setup instructions as the operating reference.
Keep the travel guard: it is needed for transport. Do not treat packaging removal as permission to discard every protective component.
Establish your first blade record
Write down the player’s name, blade model, existing hollow, and any previous profiling information. Choose a blade whose setup is known and whose condition can be evaluated. If the first job involves unusual steel, serious damage, or uncertain compatibility, resolve those questions before using it as your learning session.
Check skate seating and ring contact height before sharpening. Follow the model’s recommended first-run cycles, then complete finishing and edge inspection. The use guide covers the routine and links to the relevant manufacturer instructions.
Add app features after the physical setup is understood
The Sharpener 3 supports app connectivity. Use the current manufacturer’s instructions for pairing and updates, and follow any required on-machine prompts. The app can be part of your recordkeeping, but it should not distract from identifying the blade, selecting the intended cut, and checking the finished steel.
Finish with a repeatable routine
Put the finishing and measurement equipment in a consistent location. Record the first successful setup and note when maintenance is due. That small amount of organization makes subsequent sessions easier and makes troubleshooting more precise.
Read how to align Sparx, which grinding ring to select, and how to clean the machine before turning a successful first sharpening into a regular household routine.
— You might like
Featured products from this guide
-
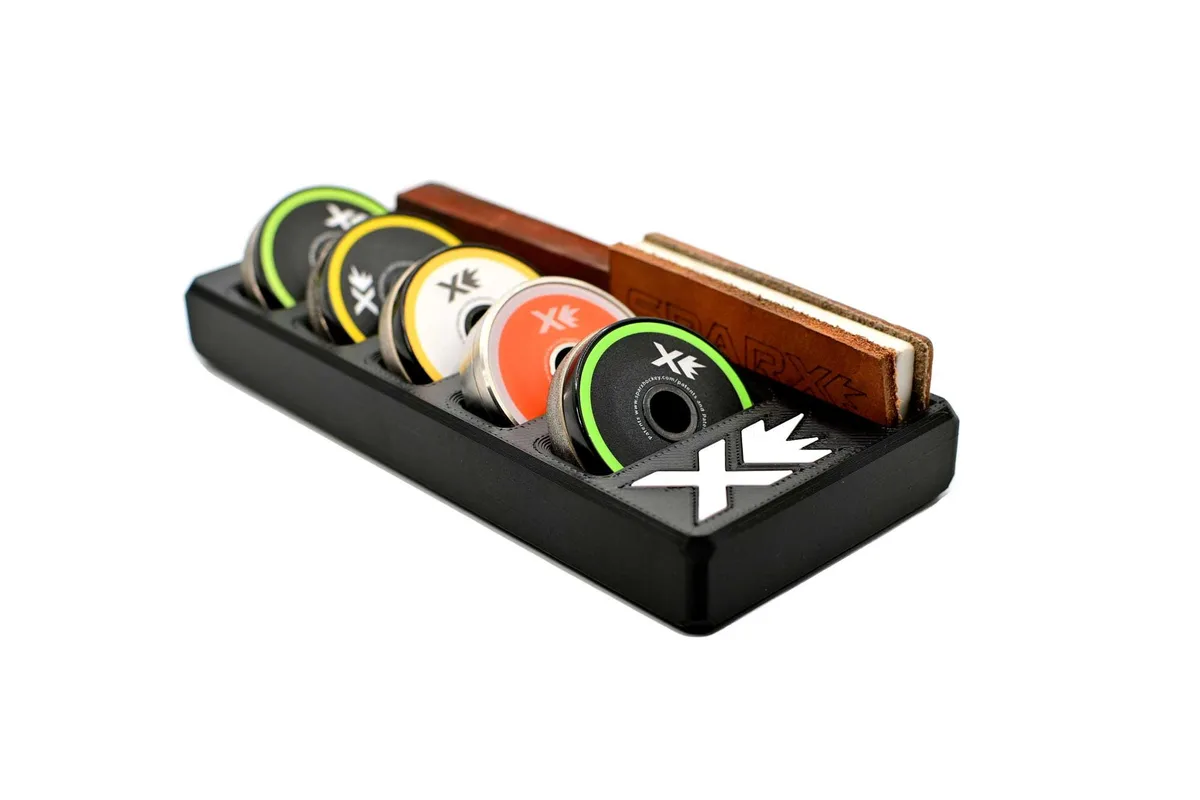 Accessories
Sparx Grinding Ring Organizer and Compact Skate Sharpener Accessory
4.9(11)$39.99 -
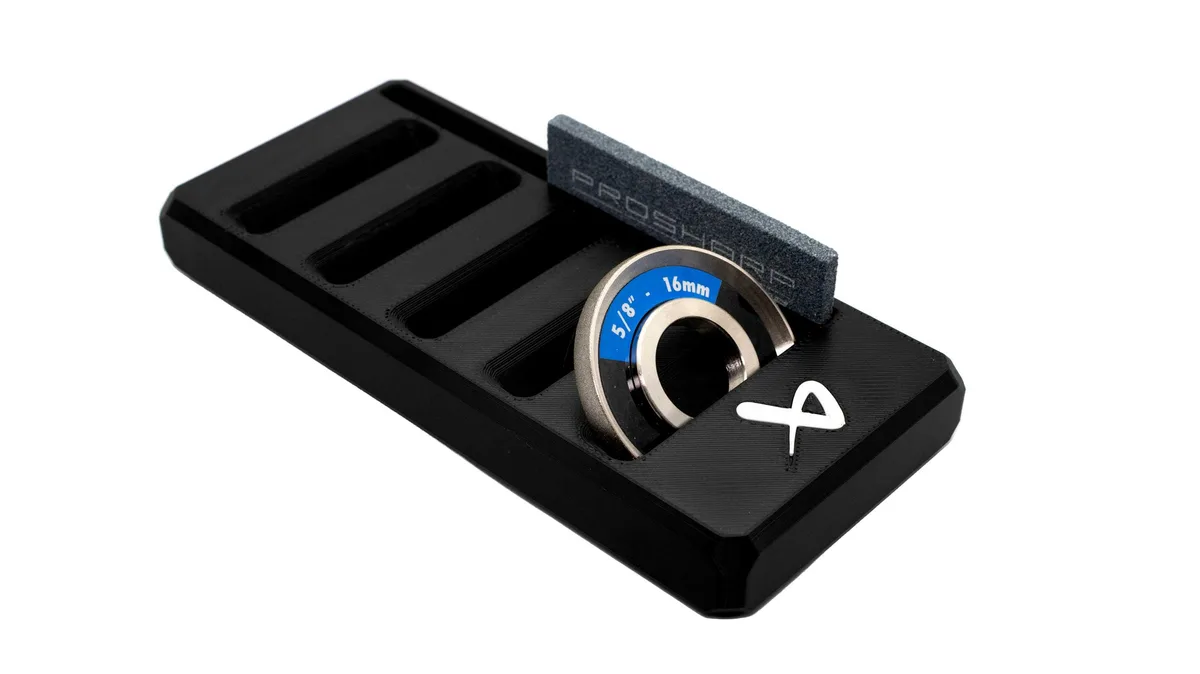 Accessories
Bauer Prosharp Grinding Wheel Organizer and Compact Skate Sharpener Accessory
5.0(2)$39.99 -
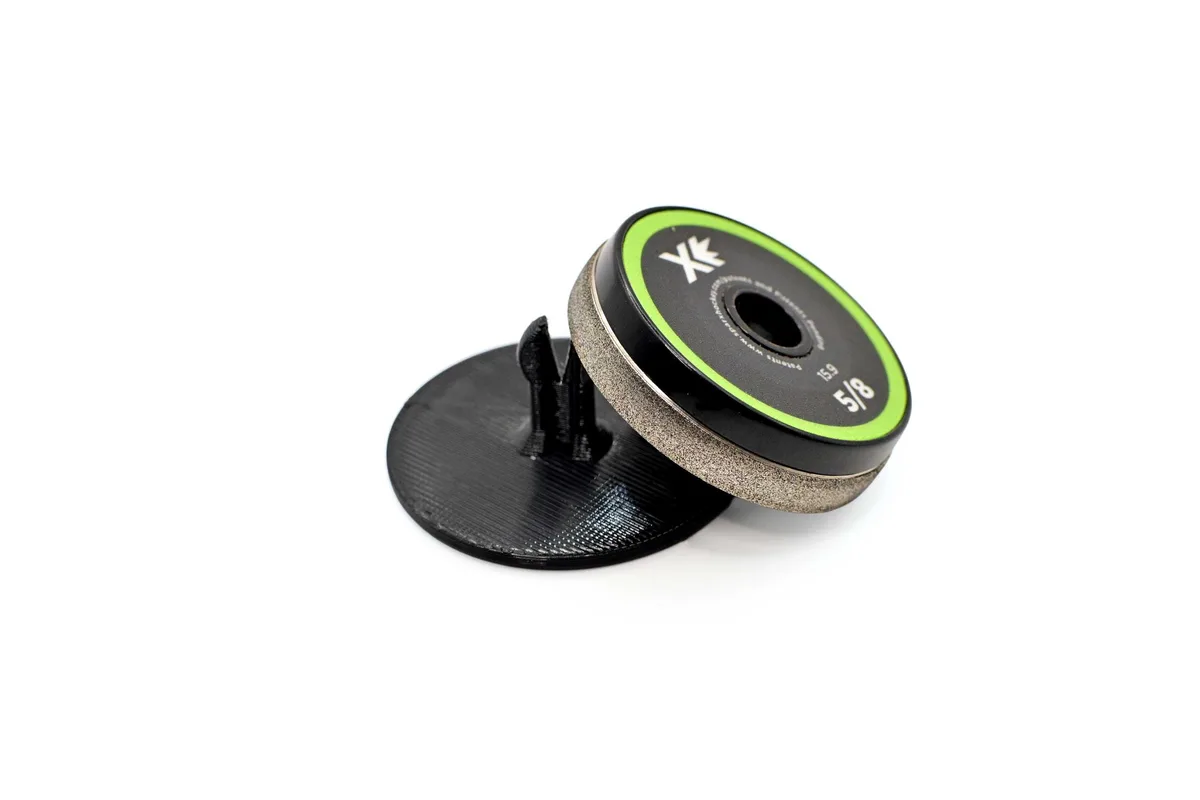 Accessories
SPARX Hockey Grinding Ring Islands in Matte Black: Precision Skate Sharpener Organization for Players
5.0(3)$24.99