Blog ·
How to Clean a Sparx Skate Sharpener
Follow Sparx Sharpener 3 maintenance guidance for cleaning the base, managing grinding debris, and replacing the air filter on schedule.
Clean a Sparx skate sharpener using the maintenance procedure for its exact generation. For the Sharpener 3, routine care includes removing debris from the base and maintaining the air filtration system. Grinding creates metal debris, so cleaning is part of operating the equipment, not just keeping the workbench tidy.
How often should you clean an ES300?
The ES300 manual specifies base cleaning after half a Radius or FIRE ring of use, identified as 160 cycles, and before moving or traveling with the sharpener. It specifies filter replacement after four standard rings, or 1,280 cycles. Those intervals apply to the stated ring types; check current guidance if your usage differs. Source: ES300 maintenance manual.
Do not substitute a monthly schedule without considering workload. A busy household can reach a usage limit much sooner than an occasional skater. Record maintenance alongside ring changes so it is clear when the next service is due.
Prepare before opening the machine
Finish the current operation, remove the skate, and follow the manual’s shutdown and access instructions. For hands-on cleaning, switch off and unplug the machine. Keep power available only when a prescribed service mode specifically requires it, such as moving the carriage before filter replacement, and keep hands clear while it moves.
Have the instructions, a suitable cloth, and the appropriate vacuum ready. Clear a stable space for any parts that must be lifted away. Take care not to scatter collected debris over alignment tools, finishing supplies, or nearby blades.
Clean the base and filter area
The ES300 procedure calls for wiping the base with a water-dampened cloth and vacuuming around the installed filter housing; Sparx recommends a HEPA-certified vacuum. It prohibits solvents and cleaning chemicals around the sharpener. Follow its illustrated head-unit removal and reinstallation sequence rather than pulling components free. See the full cleaning procedure.
Use a damp cloth, not a stream of water. Do not blow grinding dust through the machine with compressed air or wash the filter unless the current manufacturer instructions expressly permit that process. Cleaning visible debris does not make an old filter new again.
Replace the filter using its own procedure
Treat filter replacement as a separate maintenance task. Use the correct replacement for your generation, follow the required positioning mode, and secure the filter as illustrated. Only reset an applicable maintenance reminder after completing the work it records.
A reminder is useful bookkeeping; it is not a reason to ignore unusual dust, airflow concerns, or abnormal operation before the scheduled interval. If something seems wrong, stop and consult Sparx support.
What should you check after cleaning?
Confirm that all removed components are correctly reinstalled, the workspace is clear, and the machine is ready for its normal startup checks. If it has been moved, perform the required alignment inspection before the next sharpening.
Log the date and ring or cycle usage. A maintenance record helps you distinguish an overdue consumable from a new equipment fault, and it is useful if service becomes necessary.
Use the setup guide after transport, the alignment guide for edge consistency, and the lifespan article to understand why maintenance intervals and overall machine life are different questions.
— You might like
Featured products from this guide
-
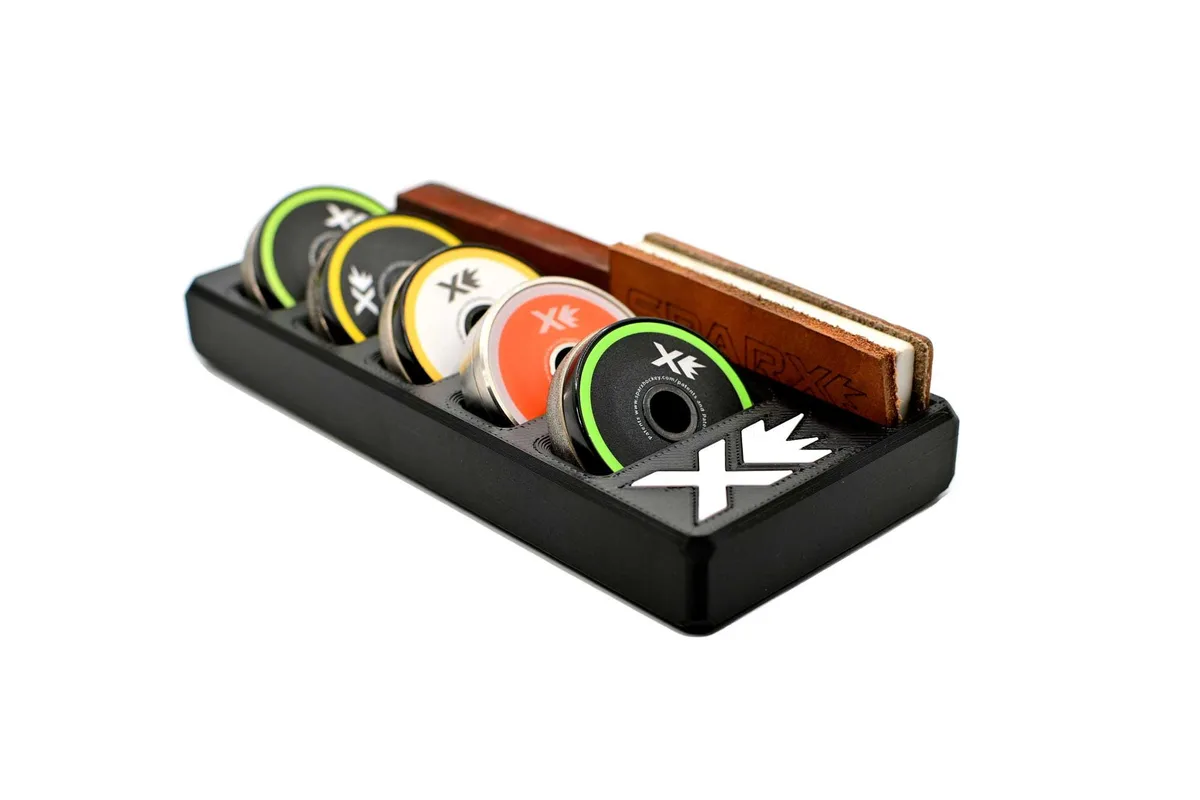 Accessories
Sparx Grinding Ring Organizer and Compact Skate Sharpener Accessory
4.9(11)$39.99 -
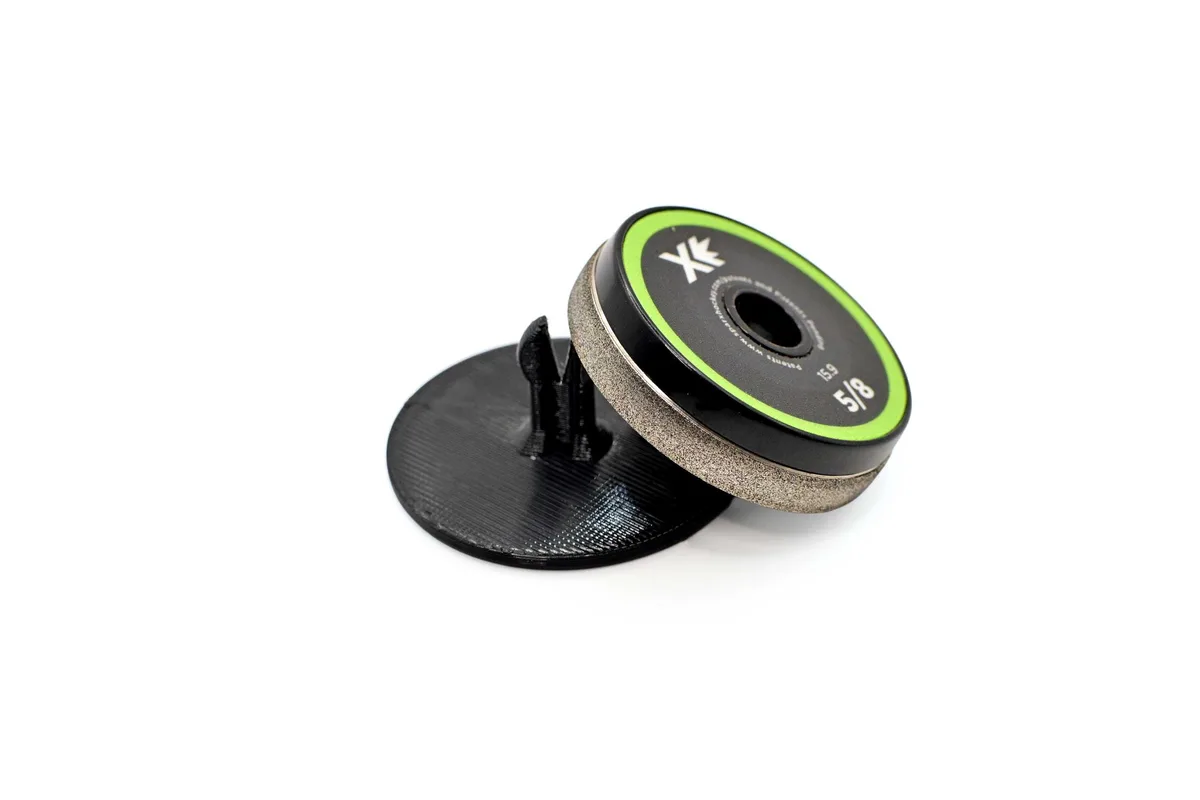 Accessories
SPARX Hockey Grinding Ring Islands in Matte Black: Precision Skate Sharpener Organization for Players
5.0(3)$24.99 -
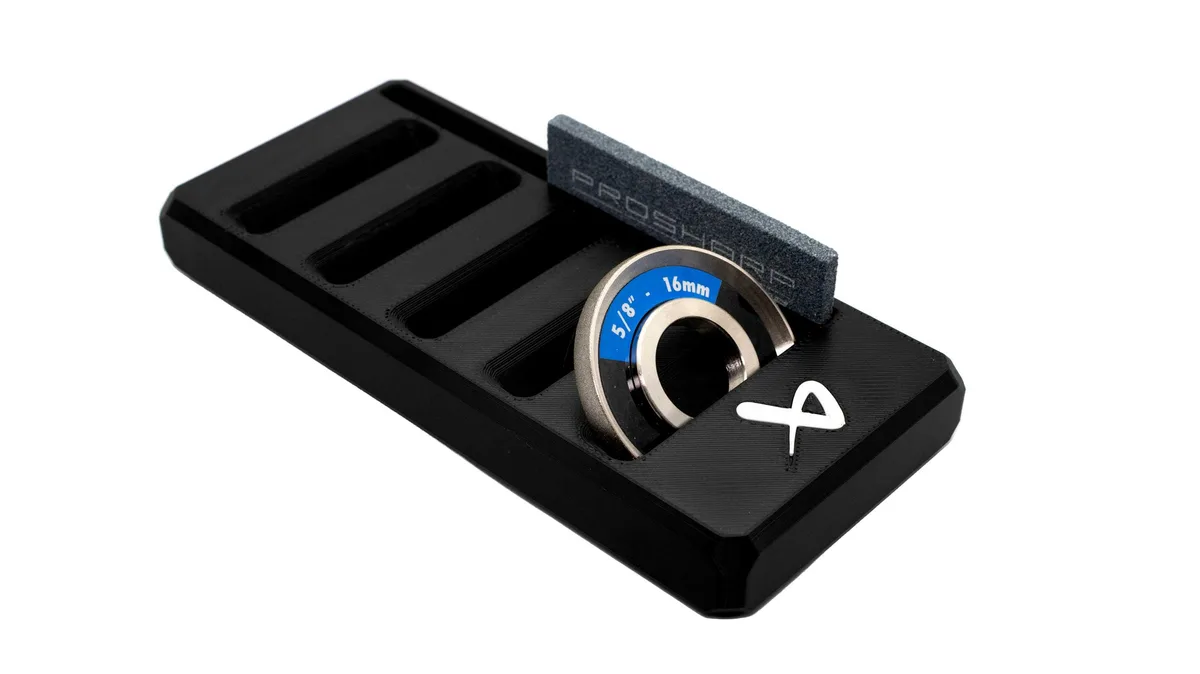 Accessories
Bauer Prosharp Grinding Wheel Organizer and Compact Skate Sharpener Accessory
5.0(2)$39.99