Blog ·
How to Use a Sparx Skate Sharpener: A Practical Guide
Learn how to use a Sparx skate sharpener, choose cycles, check blade height, deburr your steel, and inspect the finished edges.
Using a Sparx skate sharpener involves preparing the blade, checking the machine setup, running the appropriate sharpening cycles, and finishing and inspecting the edges. The motorized sharpening stage is only one part of the job. A repeatable preparation and inspection routine is what makes home sharpening useful.
This guide focuses on the Sparx Sharpener 3, also identified as ES300. Owners of earlier generations should use their model’s controls and instructions from the official manuals page.
Start with the blade and the intended hollow
Remove the skate guards, dry the steel, and inspect it in good light. Identify any significant damage before putting the skate in the machine. Make sure you know the player’s existing hollow; changing it during a first home sharpening makes it harder to judge whether a different on-ice feel comes from the equipment or the cut.
Choose the appropriate grinding ring. A Radius ring produces a conventional hollow, while FIRE is a different hollow geometry. Buying a ring with the same fraction printed on it does not make these two types identical. The Sparx ring guide explains the distinction.
Follow a consistent sharpening sequence
For the ES300, the basic sequence is: remove the travel guard, install the correct ring, verify alignment, clamp the skate securely, close the slot covers, check contact height in Move mode, select cycles, and press Play. Wait for the cycle to finish before unloading. Follow the illustrated instructions for contact position and model-specific controls in the ES300 manual.
Keep loose laces and clothing clear. Do not treat a running sharpener as something to adjust by hand. If a problem develops, use the machine’s stop controls and its troubleshooting instructions before continuing.
How many cycles should you use?
One cycle is a complete outward and return movement along one blade. Four cycles are a common starting point for routine wear; brand-new steel or a hollow change generally needs more work. Sparx’s ES300 manual recommends ten cycles for new steel or a hollow change, and six cycles for the first pair when establishing the initial alignment reading. These are starting instructions, not proof that every blade is finished after a fixed count. See the cycle guidance.
The useful question after a run is whether the full intended skating surface has a consistent finish and usable edges. Repeating extra cycles without inspecting the blade consumes steel and ring life without explaining the original problem.
Finish before you judge the result
Sharpening can leave a small burr along the sides of the blade. Remove it with a finishing method suitable for that particular steel and coating. Sparx describes this finishing stage in its deburring guide. Check the blade manufacturer’s instructions before using an abrasive stone on coated steel.
Then use a suitable edge checker, following its positioning instructions. Record the result and look at the finish under good lighting. A blade that appears polished is not necessarily level, and a level reading does not by itself prove that all damage has been removed.
Make the next sharpening easier
Keep a short log: player, blade, hollow, date, cycle count, and any adjustment. If a player reports a problem, you can compare a known setup instead of relying on memory. Give both skates a final inspection and make the first on-ice assessment during practice, when there is time to address an unexpected feel.
For a first installation, read how to set up the machine. If the two edges measure unevenly, continue with the alignment guide. For hollow selection, see which Sparx grinding ring to choose.
— You might like
Featured products from this guide
-
 Accessories
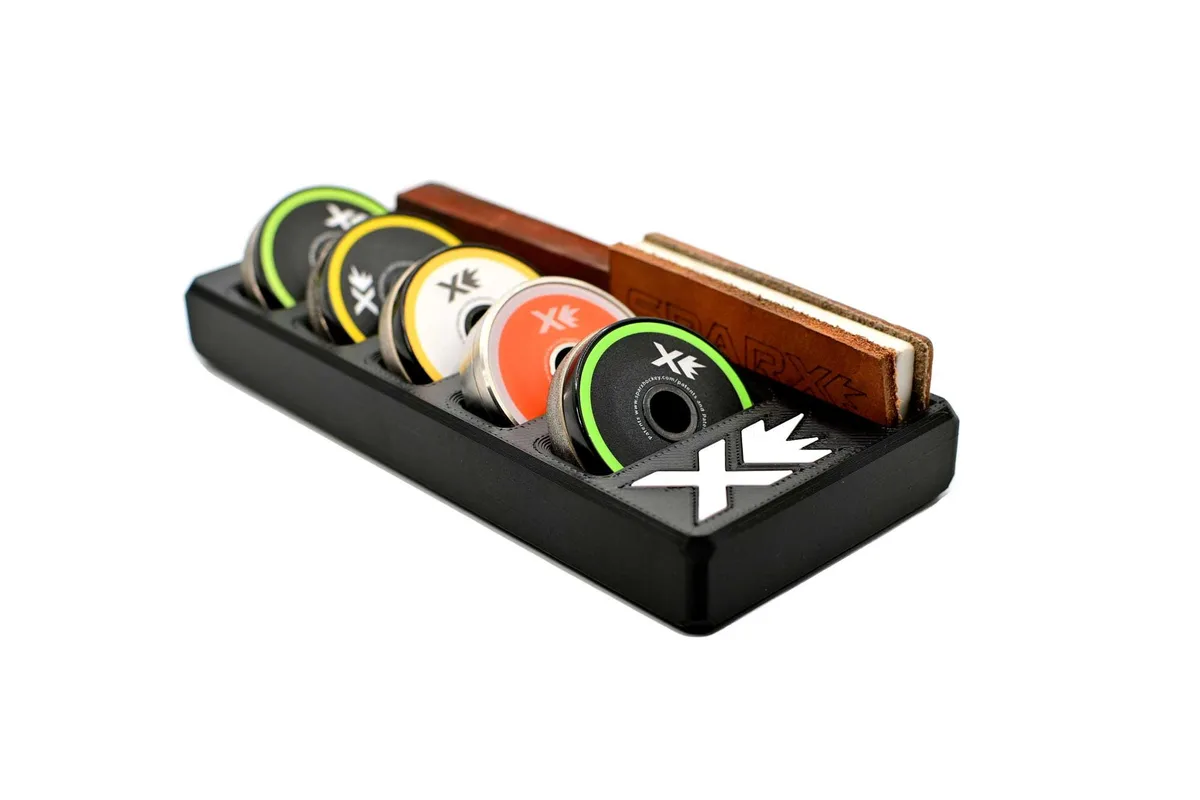
Sparx Grinding Ring Organizer and Compact Skate Sharpener Accessory
4.9(11)$39.99 -
 Accessories
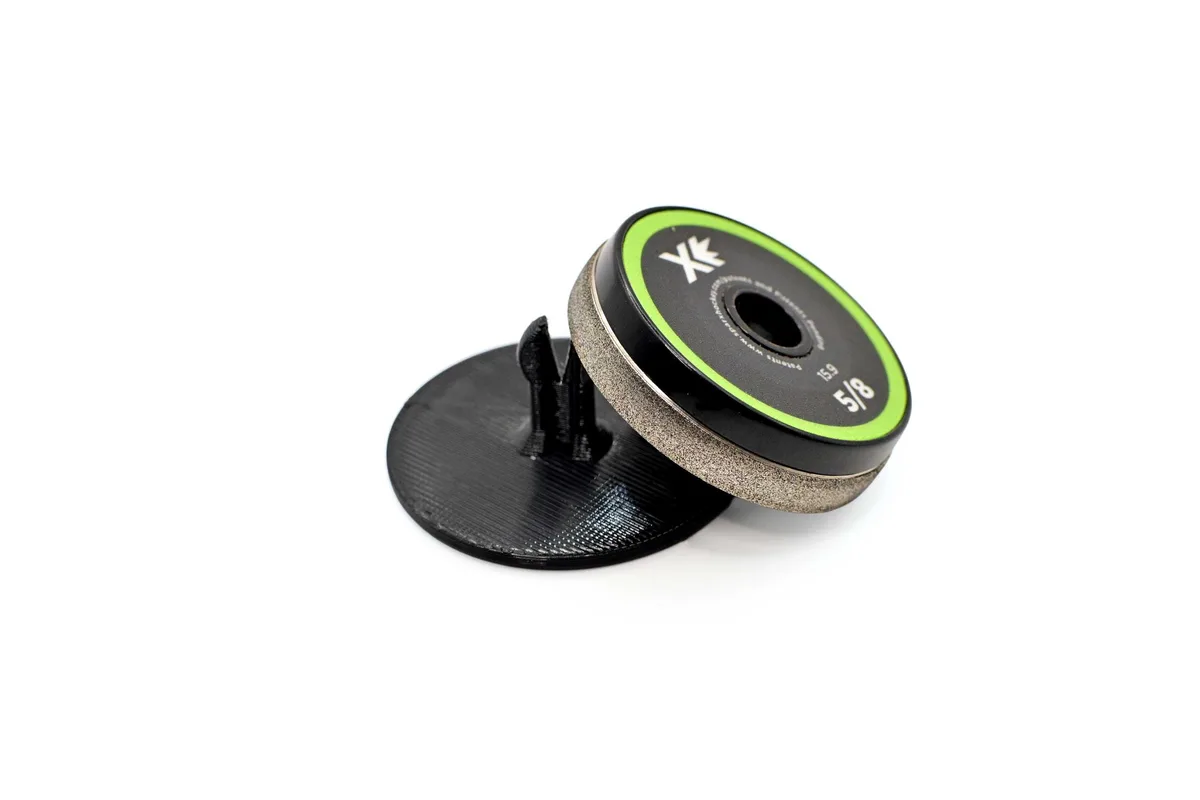
SPARX Hockey Grinding Ring Islands in Matte Black: Precision Skate Sharpener Organization for Players
5.0(3)$24.99 -
 Accessories
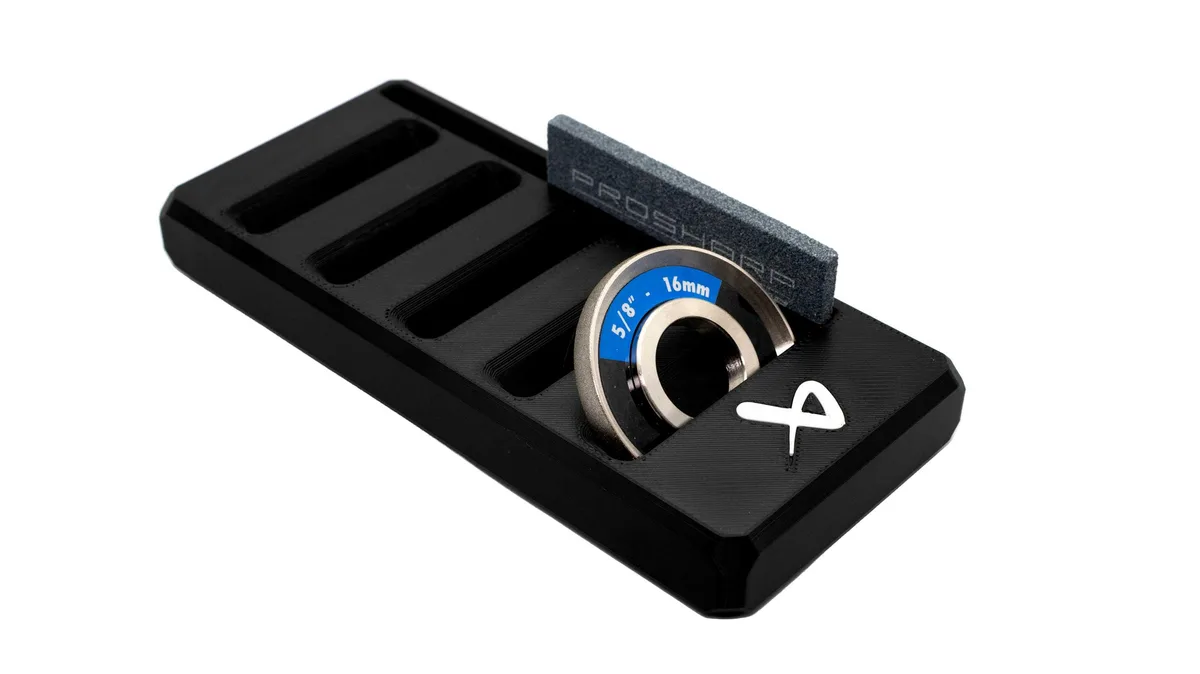
Bauer Prosharp Grinding Wheel Organizer and Compact Skate Sharpener Accessory
5.0(2)$39.99