Blog ·
How to Align a Sparx Skate Sharpener
Learn the difference between Sparx machine alignment and blade edge measurement, plus a sensible process for diagnosing uneven edges.
Aligning a Sparx skate sharpener means centering the grinding path across the blade so the two edges can finish at the same height. The correct process combines the machine’s alignment equipment with inspection of the sharpened blade. More sharpening cycles alone do not explain or reliably correct an off-center setup.
Prepare for a meaningful alignment check
Identify your sharpener generation and use its matching alignment tools. The Sharpener 3 includes an optical alignment kit; BEAM is an additional measurement option. Verify the contents for your purchase using the Sharpener 3 product page.
Begin with clean contact surfaces and a correctly seated tool. Remove anything that might prevent the tool or skate from locating consistently. If you are troubleshooting a particular blade, record where you measured it and which edge was high. A vague note such as “edges wrong” is much less useful than a repeatable observation.
Use the ES300 optical alignment sequence
Install the alignment ring and clamp the optical tool with its logo facing you. Enter Alignment mode, look straight through the eyepiece, and compare the indicator tab with the ring groove. Adjust with the alignment driver only if required, then exit the mode and replace the alignment equipment with the sharpening ring. Sparx’s ES300 manual, optical alignment section supplies the diagrams and exact adjustment directions.
Looking through the tool at an angle can create a misleading impression. Take time to establish the correct viewing position before making an adjustment. The goal is a consistent reference, not a succession of small changes made from different viewing angles.
Verify the result on steel
After the prescribed sharpening and finishing process, measure the edges with an appropriate checker. Sparx recommends checking the blade after deburring; a burr can interfere with the reading. Follow the placement guidance in its blade edge testing article.
Take repeat measurements at the same location first. Only then compare other suitable locations. If the same blade gives different results after each reseating, investigate dirt, tool placement, or blade condition before making another machine adjustment.
What changes if you use BEAM?
BEAM measures edge height and supports alignment decisions. Use the current instructions for the device and your sharpener generation, including its reference check when prompted. Avoid treating an app reading as a substitute for examining the blade or verifying that the measuring surfaces are clean. See the manufacturer’s BEAM overview.
When should alignment be checked again?
Check it during initial setup, after transport, or when repeatable edge measurements suggest a problem. The ES300 manual specifically calls for alignment inspection after moving or traveling with the machine. A check does not automatically mean an adjustment is needed.
If several suitable blades show the same repeatable offset, the machine setup deserves investigation. If only one blade behaves differently, look closely at that blade and its fit. Escalate persistent or unexplained problems through Sparx support, with photographs, model details, and the steps already tried.
For other settings, see how to adjust Sparx. If the term “calibration” is causing confusion, read alignment versus calibration.
— You might like
Featured products from this guide
-
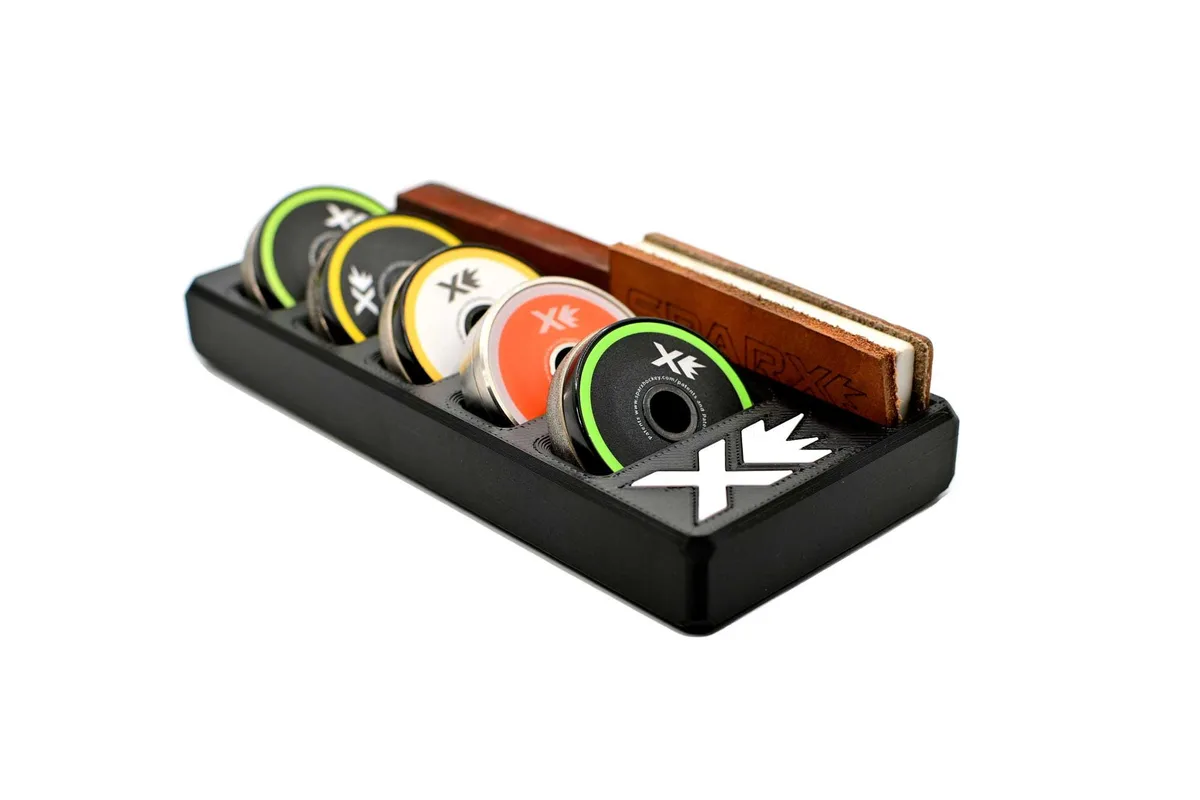 Accessories
Sparx Grinding Ring Organizer and Compact Skate Sharpener Accessory
4.9(11)$39.99 -
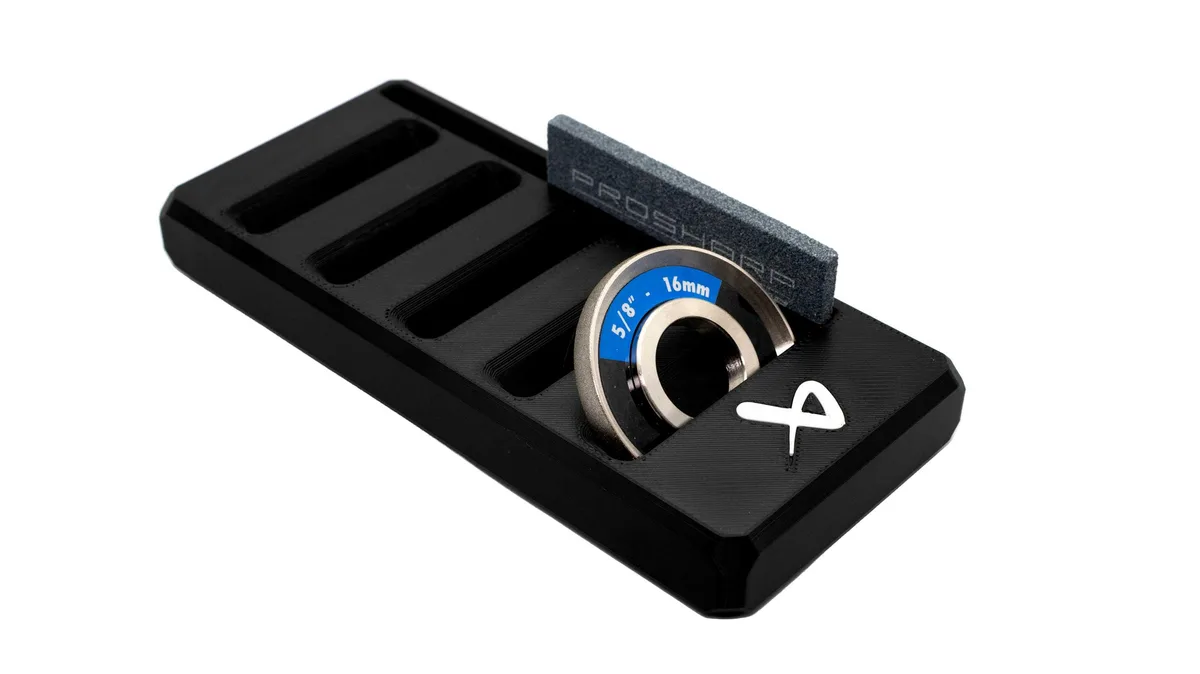 Accessories
Bauer Prosharp Grinding Wheel Organizer and Compact Skate Sharpener Accessory
5.0(2)$39.99 -
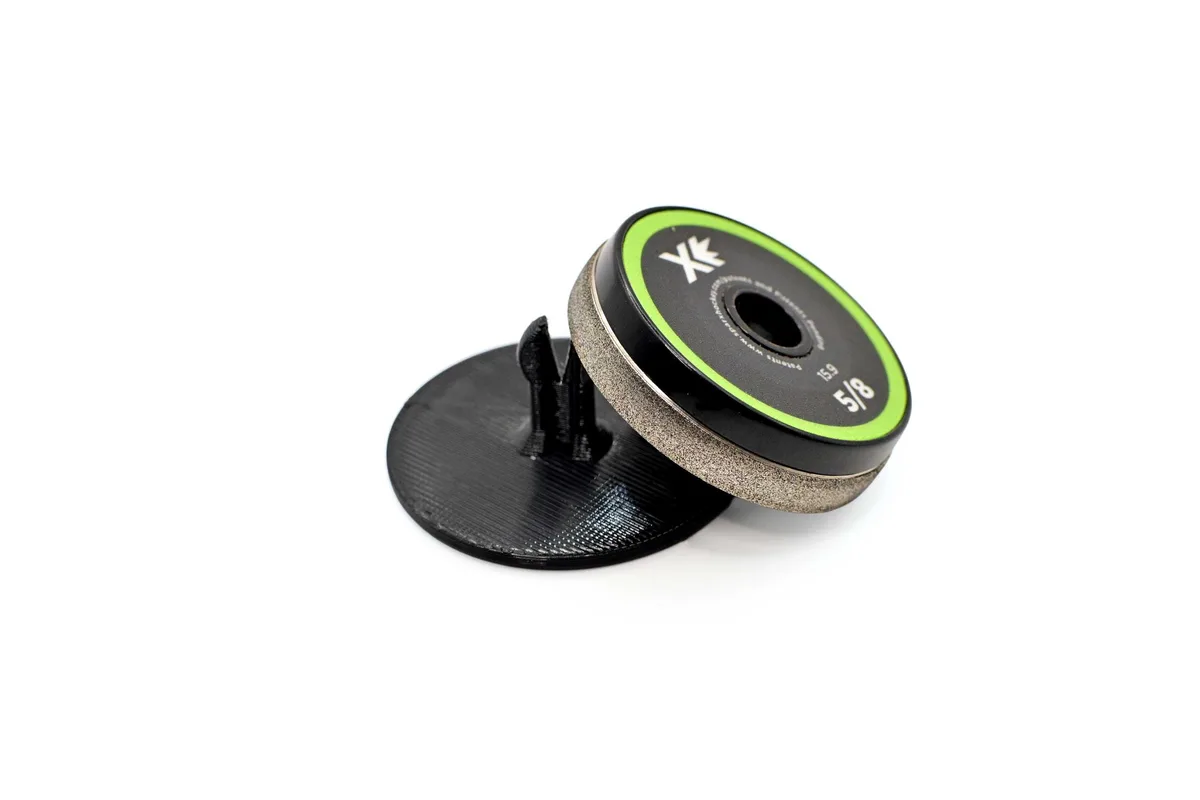 Accessories
SPARX Hockey Grinding Ring Islands in Matte Black: Precision Skate Sharpener Organization for Players
5.0(3)$24.99