Blog ·
How to Adjust a Sparx Skate Sharpener
Understand Sparx alignment, grinding ring height, cycle count, and hollow selection so you can adjust the right setting for the problem.
To adjust a Sparx skate sharpener correctly, first identify what needs changing. Alignment controls where the hollow sits across the blade. Ring height controls the initial contact position near the blade end. Cycle count changes the amount of sharpening work. Hollow selection changes the cut itself. These settings solve different problems.
Match the adjustment to the symptom
| What you notice | First thing to investigate |
|---|---|
| One edge repeatedly measures higher | Blade seating, measurement technique, then alignment |
| The ring’s first contact looks misplaced | Grinding ring height and skate compatibility |
| Wear or a previous hollow remains visible | Cycle count and whether the task is routine sharpening |
| The skates feel too grippy or too slippery | Hollow preference, after checking edge quality |
| Only one blade produces inconsistent readings | That blade’s condition, cleanliness, and seating |
This is a diagnostic order rather than a guaranteed diagnosis. It helps avoid changing several settings at once and losing track of what improved the result.
Set ring height using the blade, not a memorized number
On the ES300, use Move mode to inspect the contact point. Back the ring away before changing the height knob, then check contact again. The manual illustrates an approximately 45-degree relationship between the ring center and the correct initial contact point. Its height scale runs from 1, lowest, to 8, highest. Use the illustrated ES300 procedure for the actual adjustment.
There is no single knob number that belongs to every player or every skate. Blade shape, exposed steel, and wear can change the required setting. Photographing a correctly established setup can help you recognize a change later, but it should not replace inspecting the current blade.
Correct alignment from a reliable observation
Before moving the alignment adjustment, clean the blade’s measurement surfaces and confirm the skate is seated correctly. Recheck your measuring tool as directed by its manufacturer. If the reading changes dramatically each time the tool is placed on the same location, the measurement process needs attention before the machine does.
Use the supplied optical alignment equipment or the compatible BEAM workflow. BEAM is a measurement accessory; the presence of a laser does not mean an owner should skip physical setup checks. Sparx describes its role on the BEAM information page.
Change one variable at a time
If alignment and finish are satisfactory but the skater dislikes the feel, investigate hollow choice. A smaller conventional radius makes a deeper hollow; a larger radius makes a shallower one. This changes the grip-and-glide balance and is separate from centering the cut. Sparx explains radius of hollow here.
For an orderly trial, keep the same steel and skating conditions where possible. Change only the hollow, note the player’s comments, and avoid treating one unfamiliar session as a final verdict. If the issue is a machine alert or abnormal movement, follow the alert-specific troubleshooting instead of experimenting with alignment.
Use the alignment walkthrough for uneven edges, the ring selection guide for skating feel, and the everyday sharpening guide for a repeatable routine.
— You might like
Featured products from this guide
-
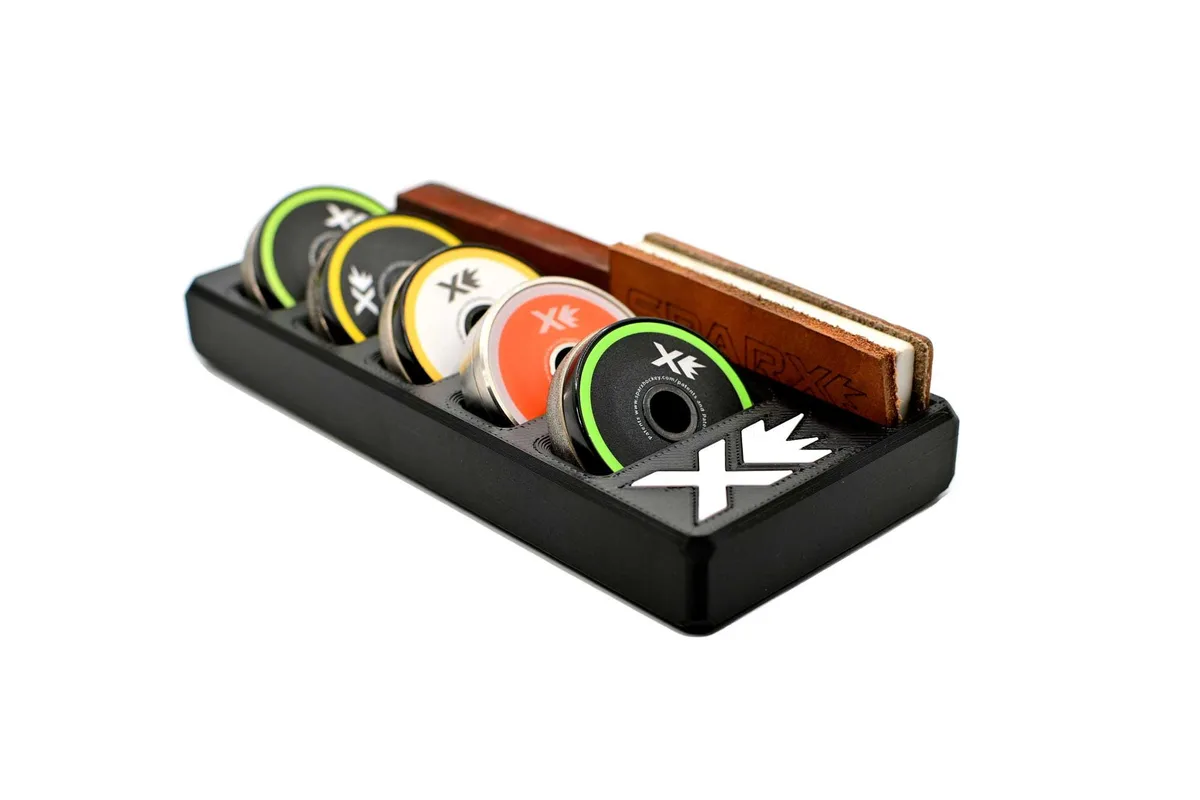 Accessories
Sparx Grinding Ring Organizer and Compact Skate Sharpener Accessory
4.9(11)$39.99 -
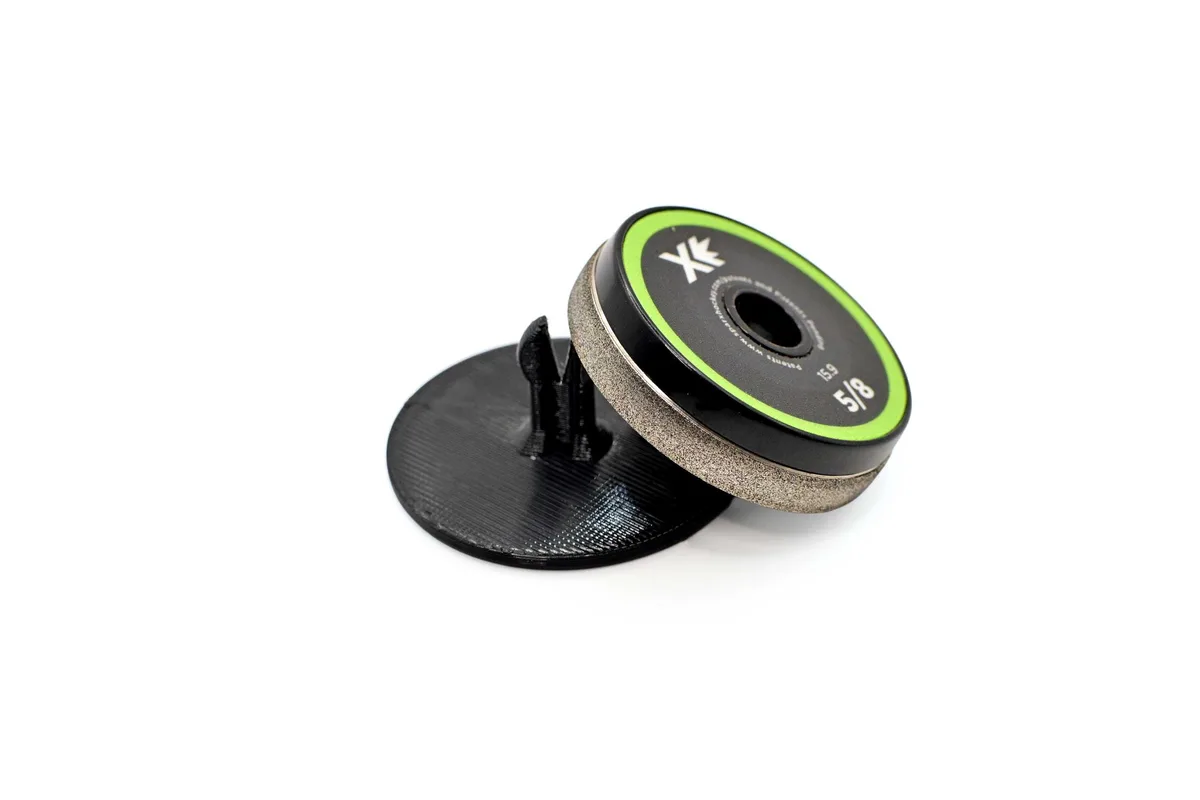 Accessories
SPARX Hockey Grinding Ring Islands in Matte Black: Precision Skate Sharpener Organization for Players
5.0(3)$24.99 -
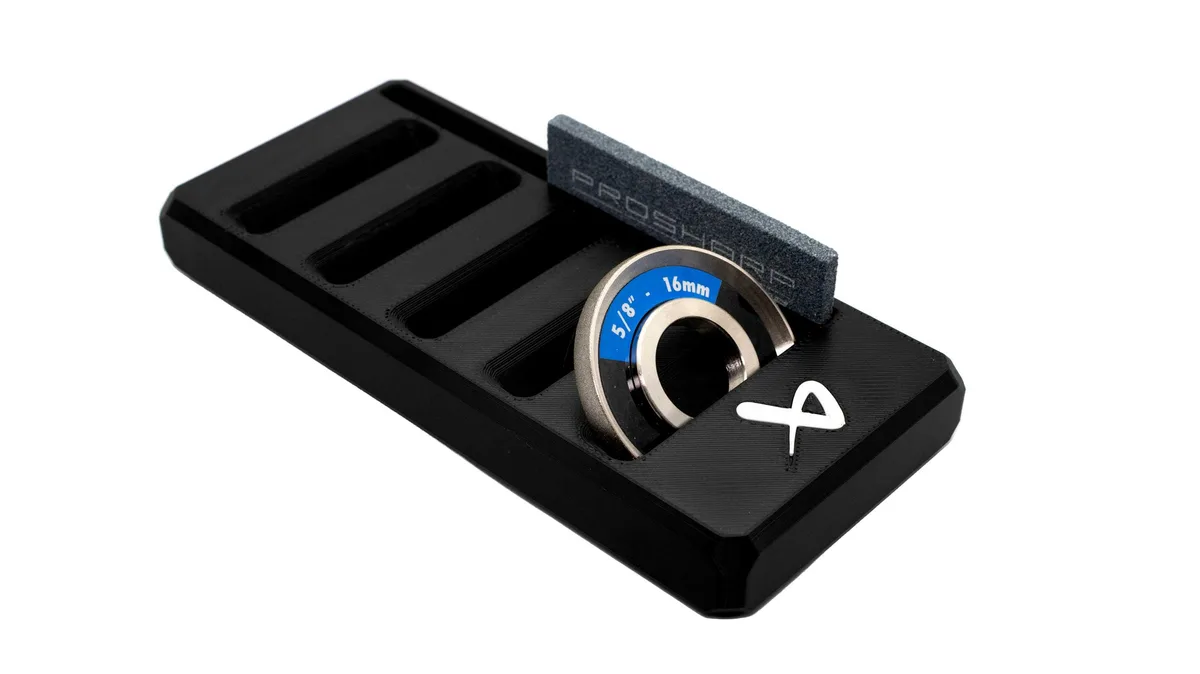 Accessories
Bauer Prosharp Grinding Wheel Organizer and Compact Skate Sharpener Accessory
5.0(2)$39.99